Quick Guide to Get Started: Difference between revisions
| Line 17: | Line 17: | ||
Set up your data source in [[QuoteManager|'''QuoteManager''']] → '''Tools''' → '''Data Sources'''. | Set up your data source in [[QuoteManager|'''QuoteManager''']] → '''Tools''' → '''Data Sources'''. | ||
<br> | <br> | ||
<img src="https://www.multicharts.com/trading-software/images/7/75/DataSources.png" width="400"> | <img src="https://www.multicharts.com/trading-software/images/7/75/DataSources.png" width="400"> | ||
<br> | <br> | ||
Revision as of 10:26, 9 August 2024
Get Started
Sign up at the Get Started page to download MultiCharts and get a free account that allows you to use the trading simulator and get a platform overview.
- Install and open MultiCharts.
- Sign in using the account information you received via email.
- Select our free simulator and start improving your trading techniques.
If you’d like to test out other tools and features, sign up for a trial period by clicking the 30 days for $1 button at the Purchase page.
Set up Data Feed and Broker Profile
It is necessary to set up a data feed to have charts, and a broker profile should be configured for trading.
For simulated trading you can use the built-in Market Data Sim data source.
You can quickly set up the data feed and broker profile using our Setup Wizard.
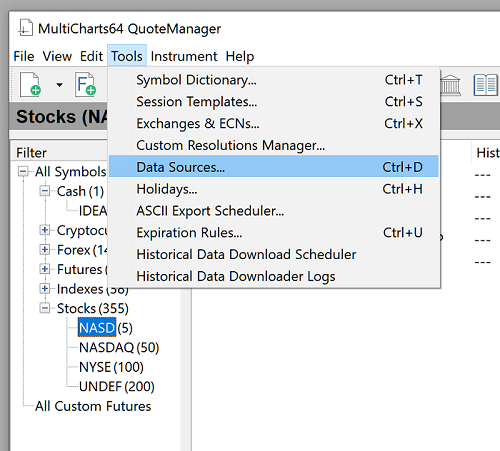
Data Source Connection
Set up your data source in QuoteManager → Tools → Data Sources.
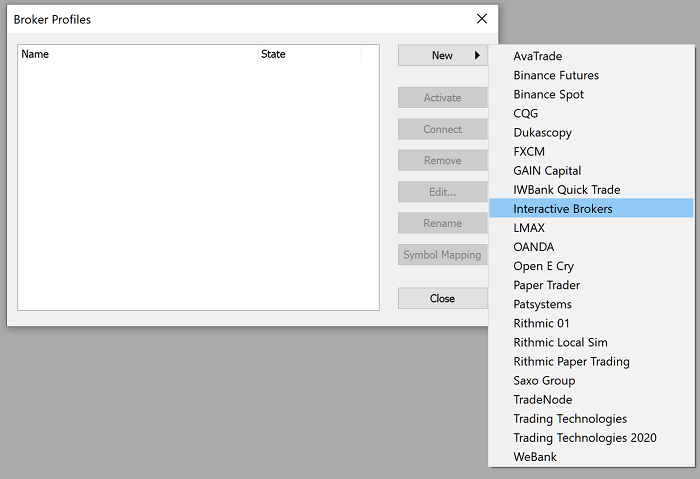
Broker Profile Connection
To add a new broker profile, in MultiCharts main menu go to File → Broker Profiles → Manage Broker Profiles.
In the Broker Profiles window click New and select your broker.
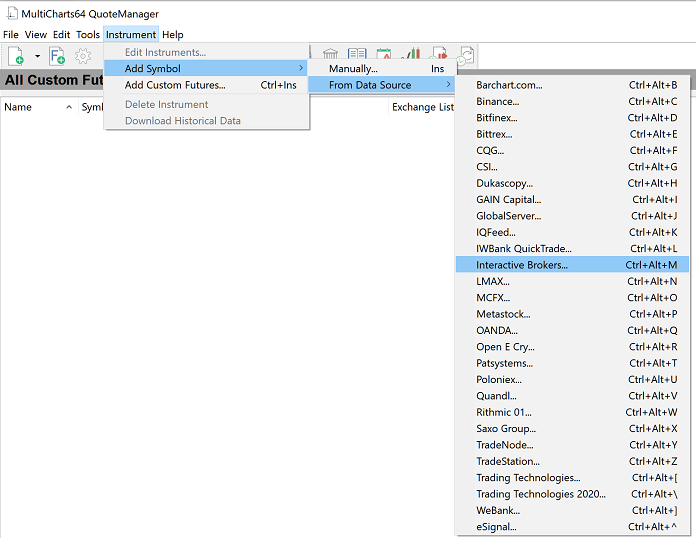
Add Symbols to QuoteManager
To create a new chart, you need to add the required symbol first.
Add symbols from your data source in QuoteManager → Instrument → Add Symbol → From Data Source.
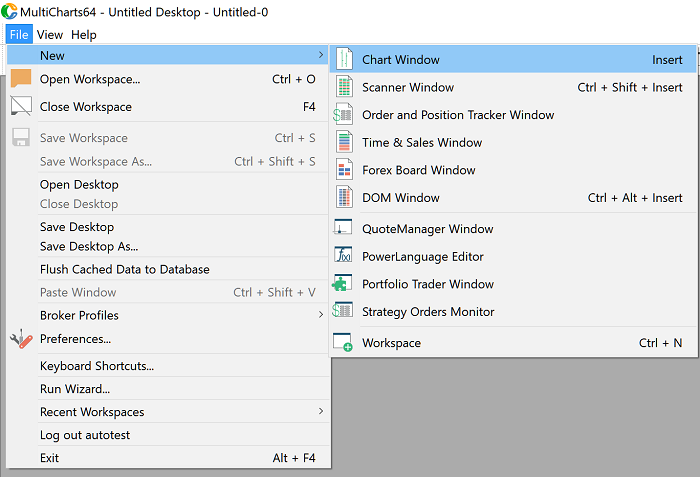
Create Charts
When the required instruments are added, you can create charts via MultiCharts main menu → File → New → Chart Window.
Your MultiCharts is now set up to start: